
Create an Account in Adobe IO
30 Jan 2022 » MSA
You plan to use one of the multiple APIs that Adobe offers. You know which API you want, you understand it and you are ready to start coding. But, before you do so, you will need to get the credentials for your script or application. Instead of using the Adobe Admin Console, you have to create these credentials through Adobe IO, which is what I am going to show today.
Create a new project
The first step is to go to the Adobe IO Developer Console.
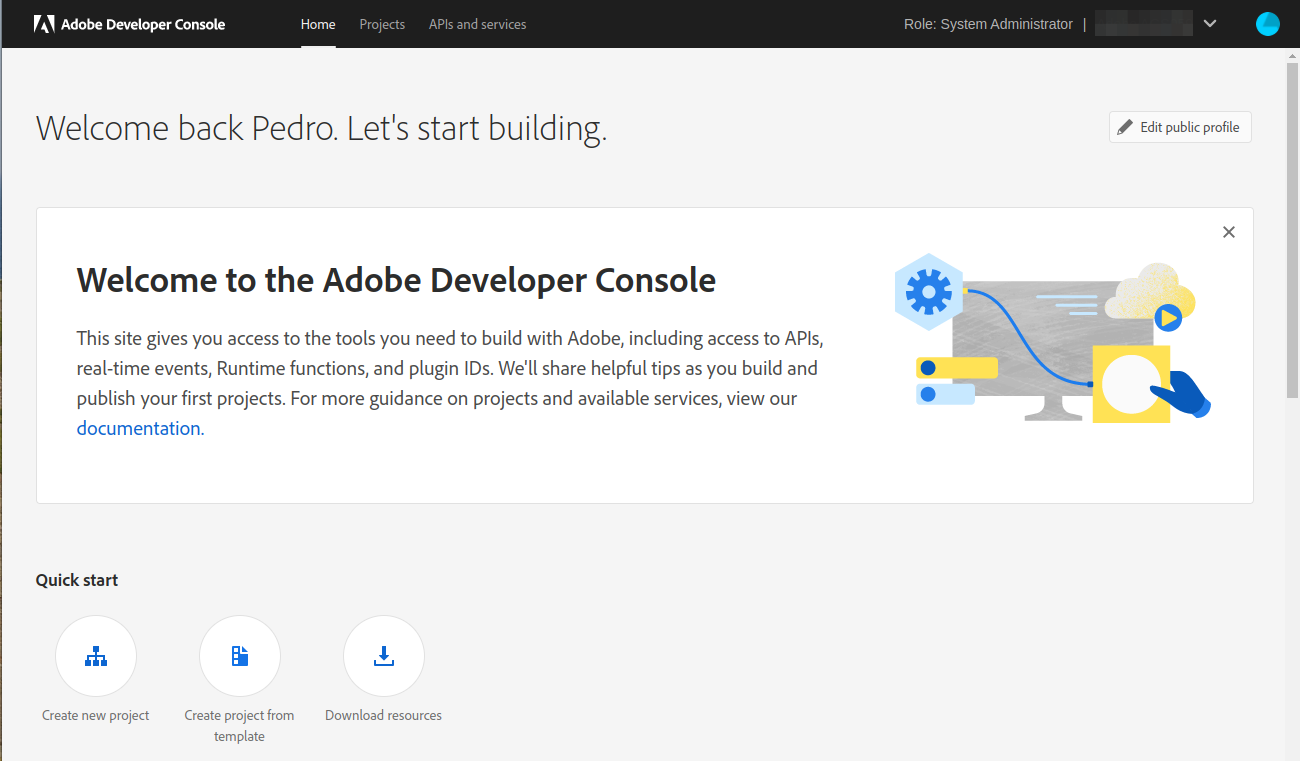
You will have noticed that I am the system administrator of the account. I believe that this is the only role allowed to create an account in Adobe IO. So, if you do not have these permissions, work with your system administrator and follow the steps in this tutorial with him/her.
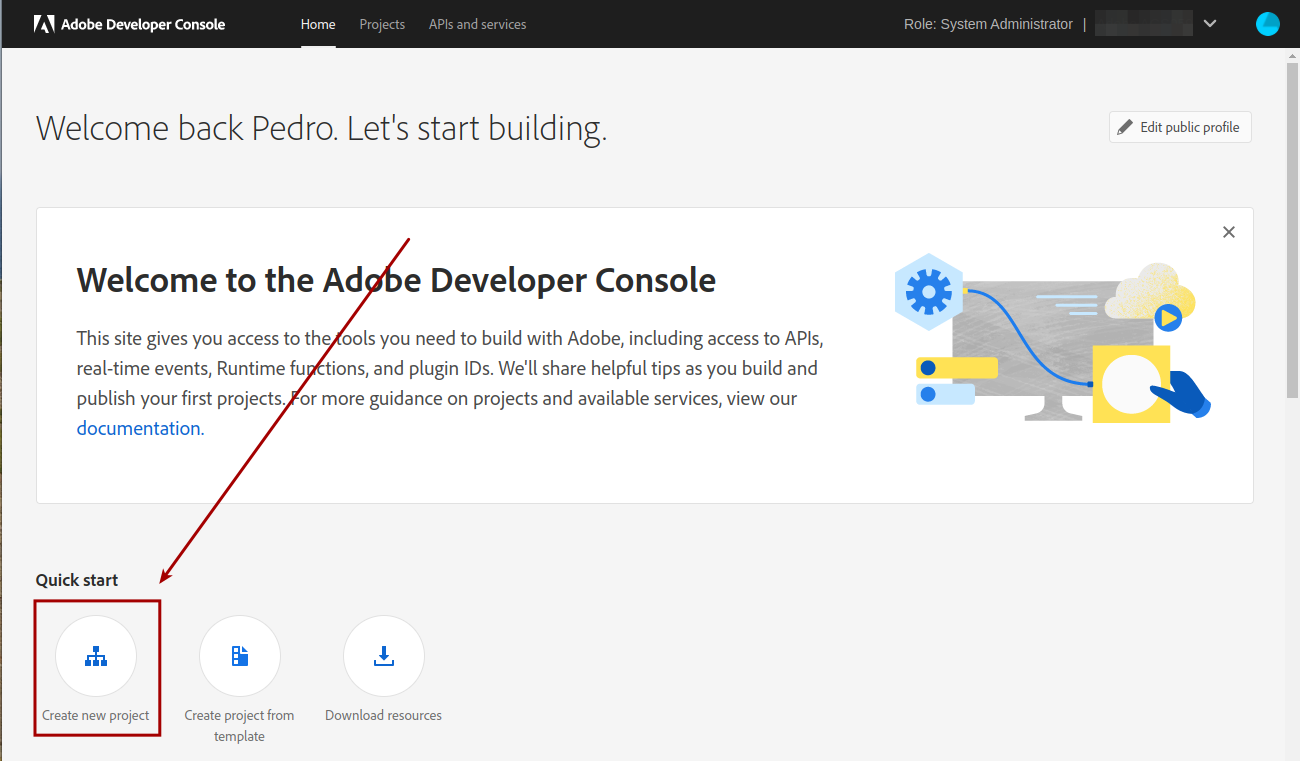
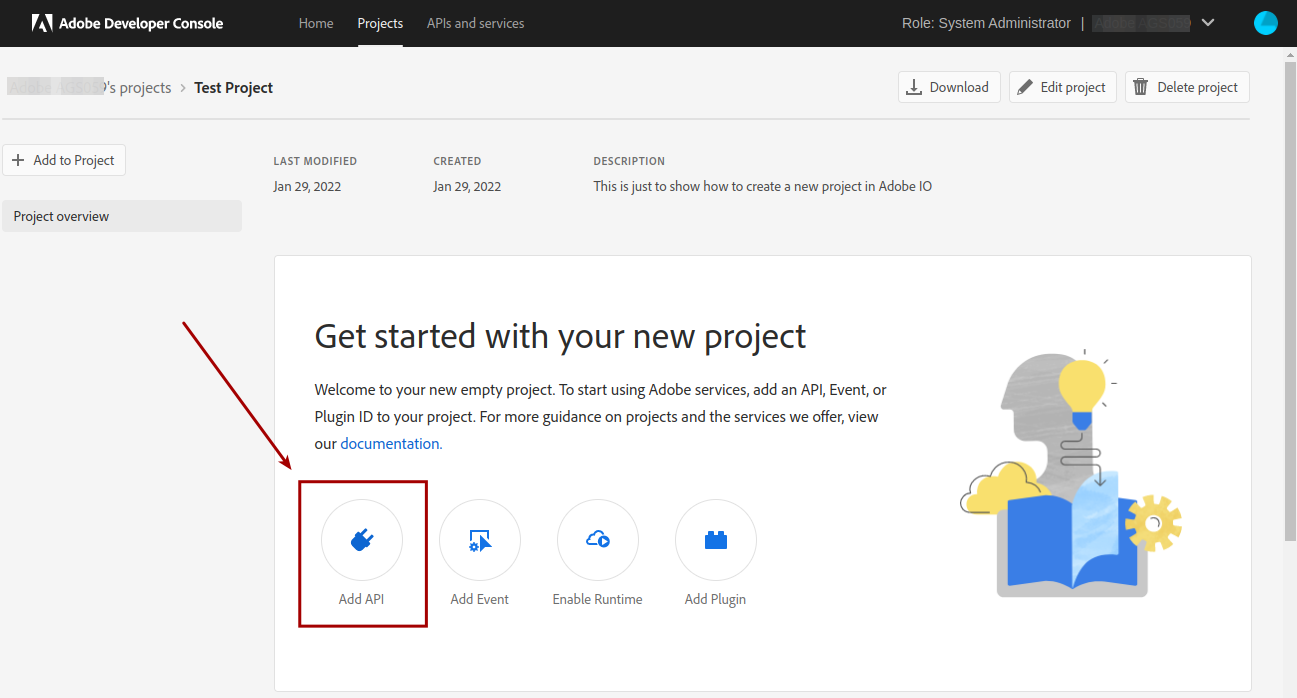
Continue by clicking on “Create new project”:
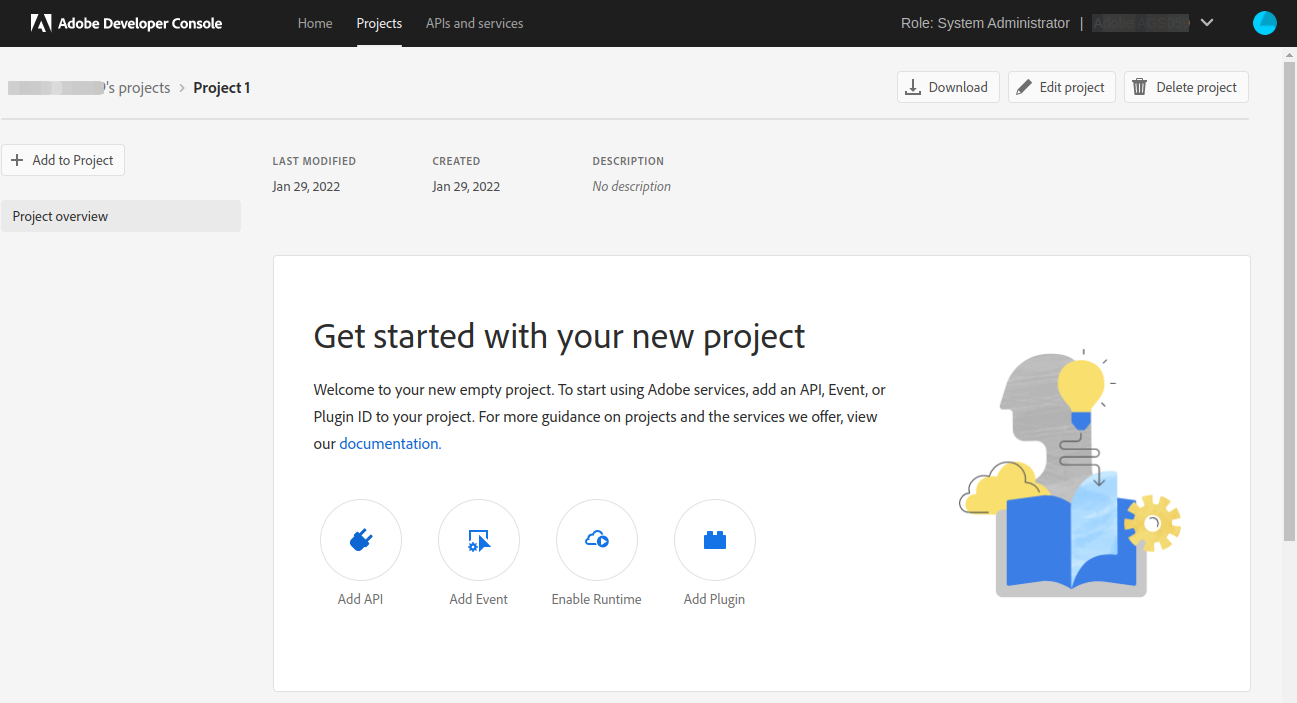
This creates directly a new project, without asking for anything else:
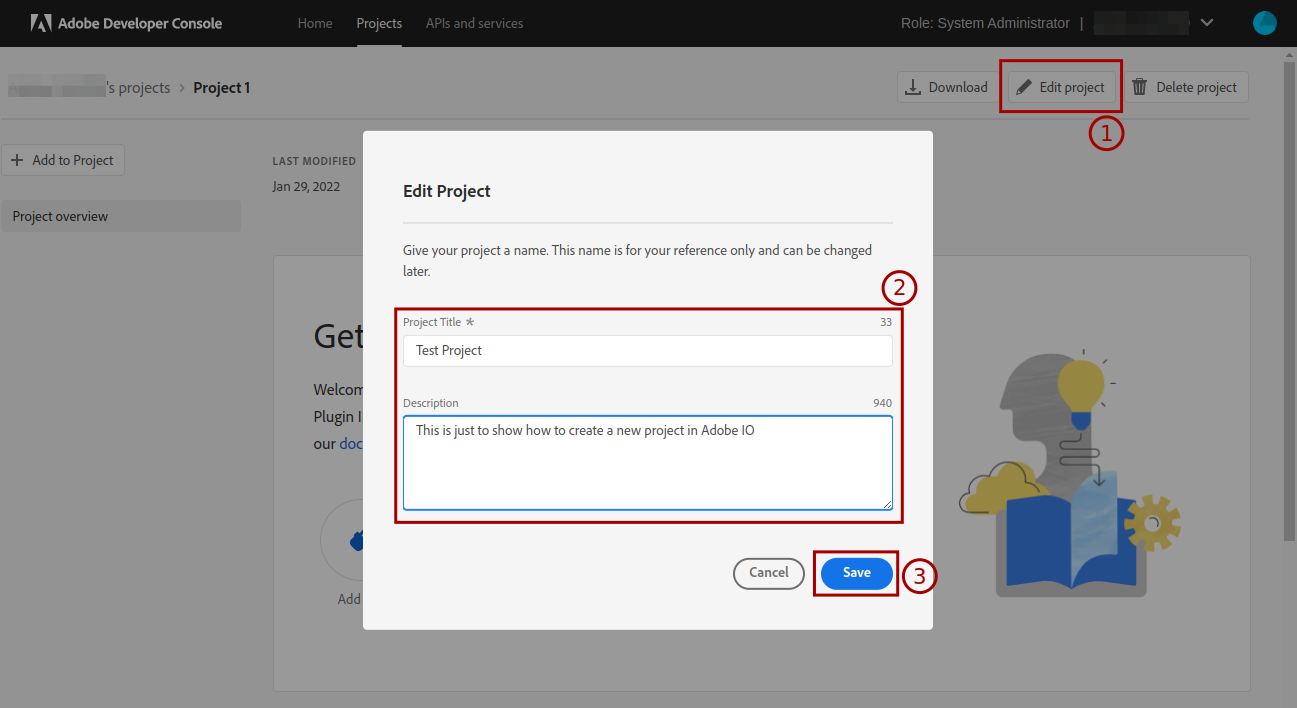
I strongly suggest that you change the default name to something more descriptive:
Select API
Now it is time to select the API that you want to use:
You will be prompted with all the APIs that you have access to. The first thing that may surprise you from the below screenshot is that it includes APIs that have nothing to do with the Adobe Experience Platform or Cloud, like Photoshop and Stock. Remember that Adobe IO is for all Adobe APIs. So, if, in the future, you need to work with these APIs, now you know where to find them.
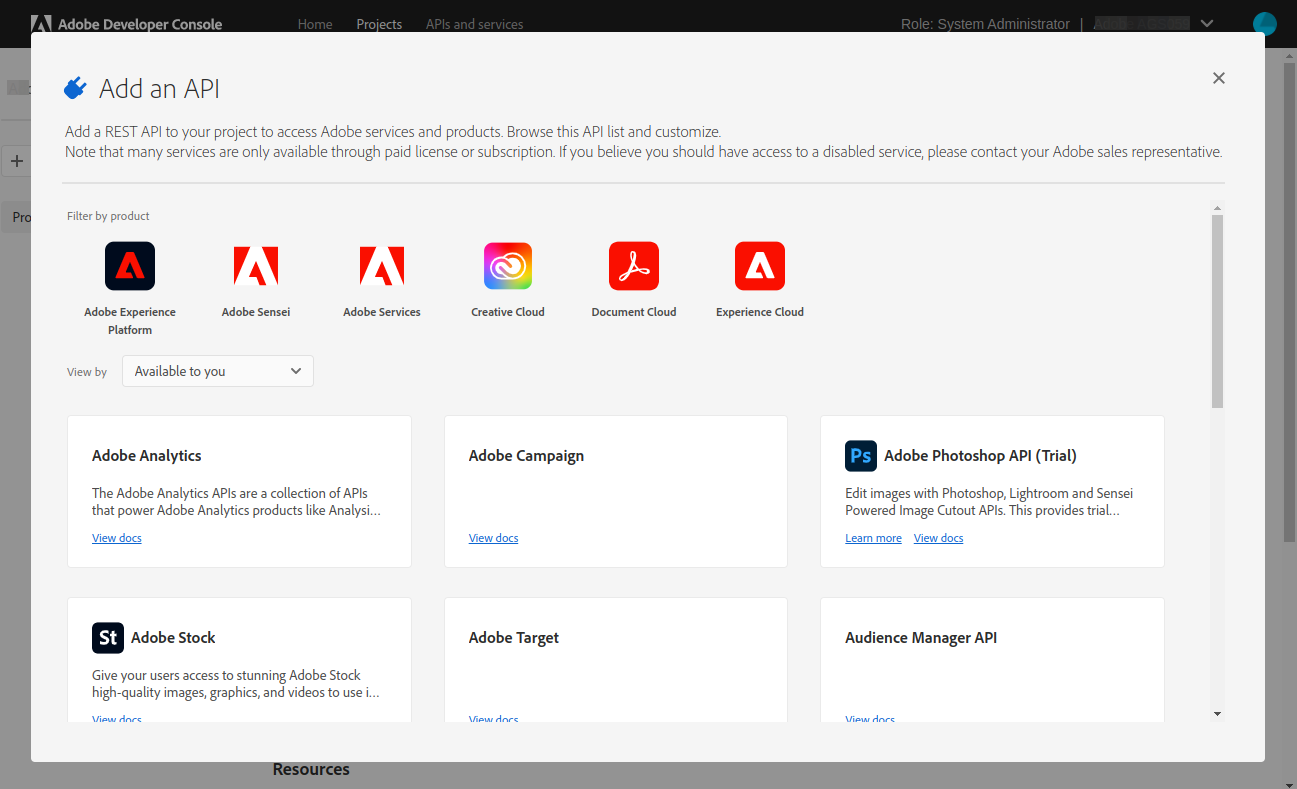
For the purposes of this tutorial, I will choose Adobe Analytics, probably because it is closest to my heart. However, you should choose the API you need to work with. Click “Next” at the bottom right.
Now you are presented with two options:
- Service Account (JWT). This is an account that is totally disconnected from a user. In other words, it is meant to be used by an automated application, that will run unsupervised. This is the one I will choose for this tutorial and the option for most of the cases I can think of.
- OAuth. This type of account is used when your code will connect to the API on behalf of a user. I have never tried it, but the only case when I think it makes sense is when building an application App Builder (fka Project Firefly), where your web page needs to connect to an API to send or retrieve information.
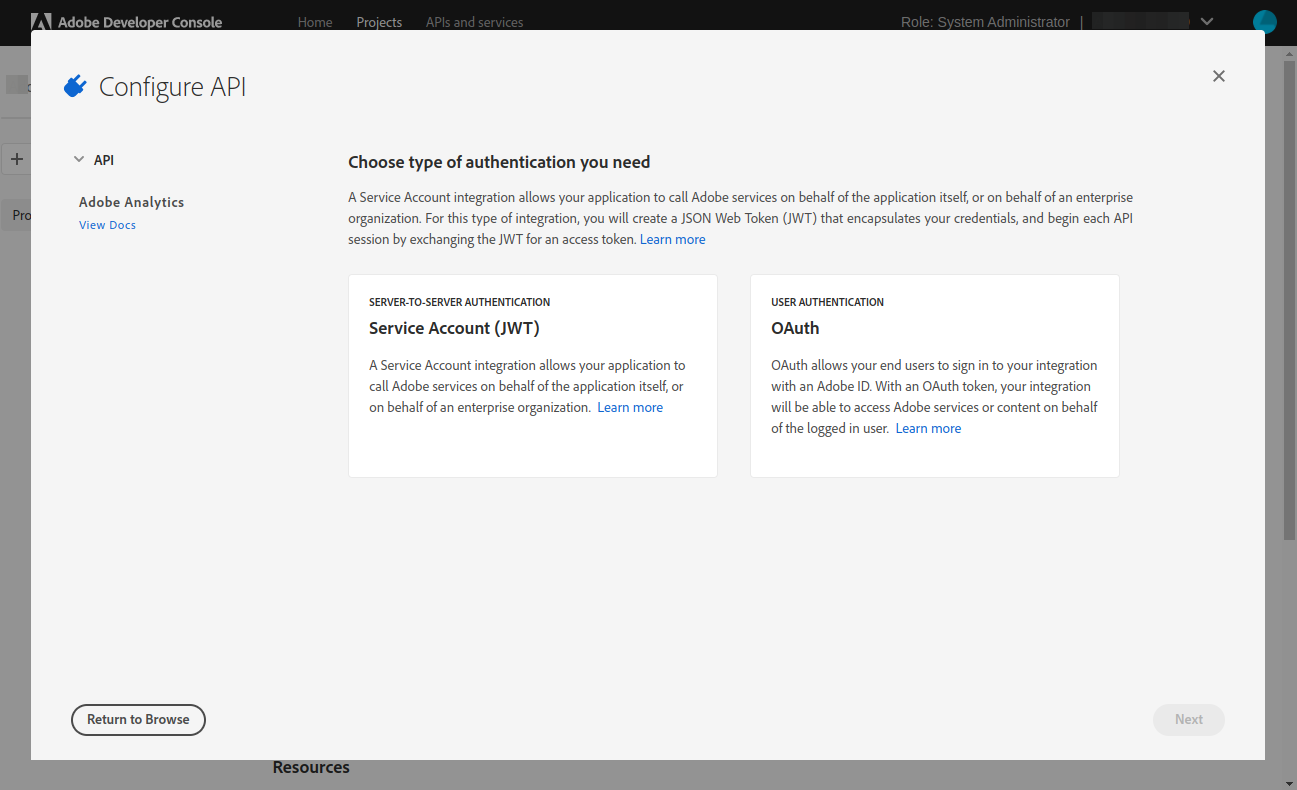
Select the option that you want by clicking anywhere on the card (a checkbox will show up) and click “Next” at the bottom right.
Security
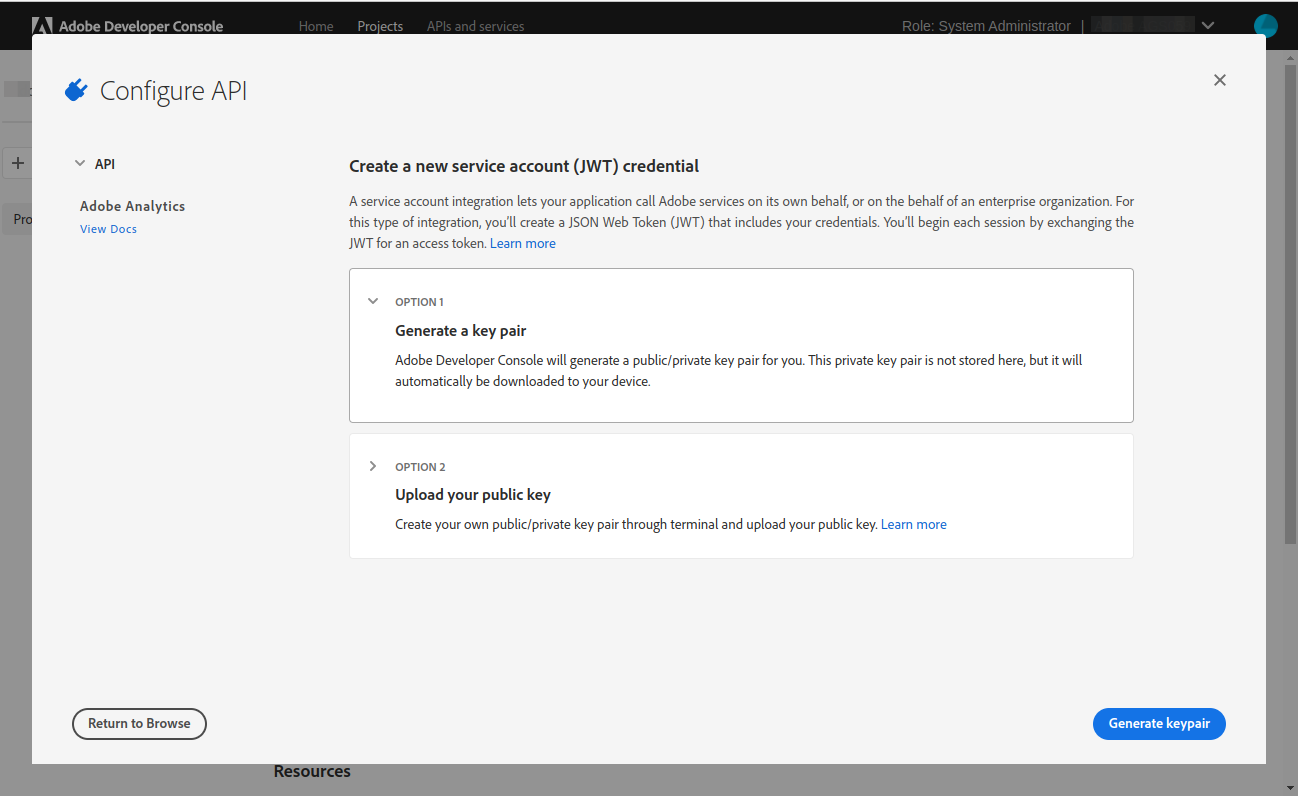
Since I have chosen the JWT option, I am now requested to either generate a key pair or upload my public key.
Before proceeding, I want to spend some time explaining these two options.
Generate a key pair
If you chose this one, Adobe IO will generate a pair of private and public keys and the browser will download the two in a ZIP file. I am pretty sure that Adobe does not keep the private key. However, some people recommend that your minimum security level should be paranoid. So, with this in mind, you should only use this option for testing purposes.
Since this tutorial is a test, this is the option I will select. After clicking on the button at the bottom right, a new page shows up:
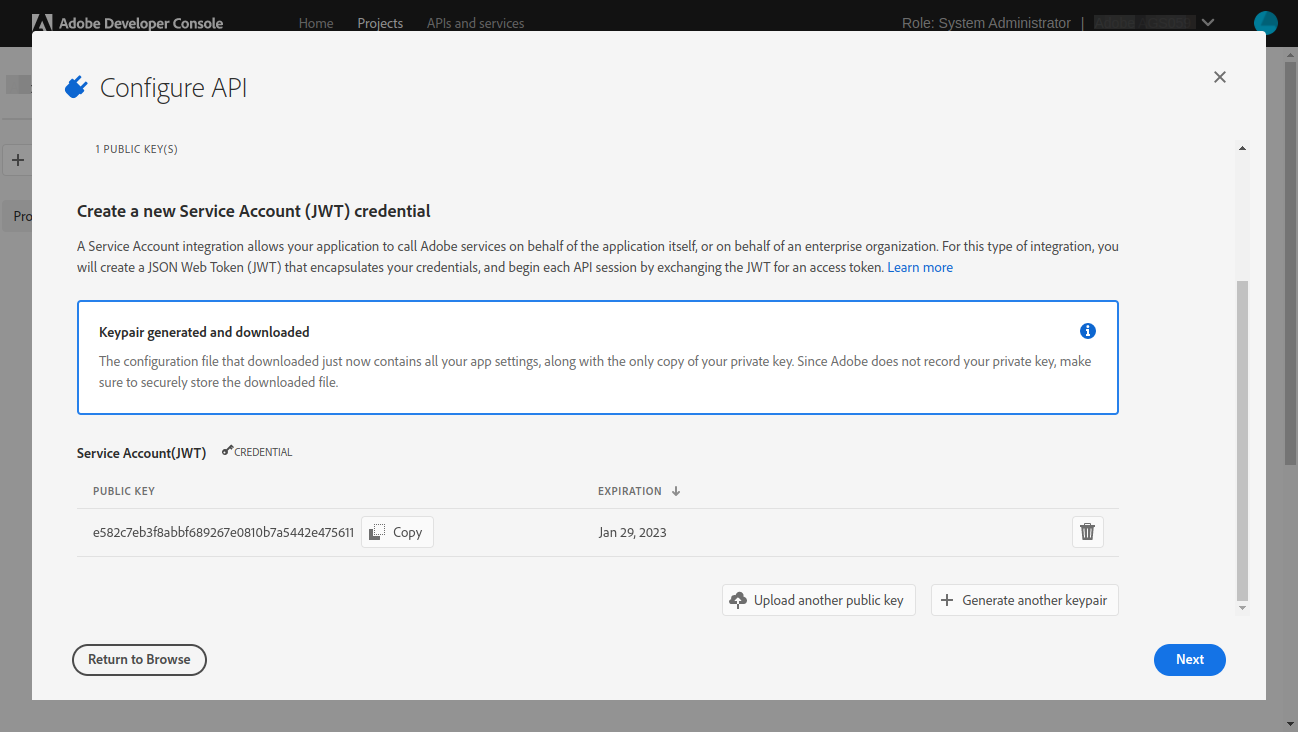
You should note the expiration date. Read more on this topic below. Click “Next” at the bottom right.
Upload your public key
In production, you should generate your RSA public and private keys following your company’s security procedures and store them securely. You just need to upload the public key as requested by this option, which does not pose a security thread (it is called public for a reason). If you do not know how to create the keys in your local environment, you can follow these instructions.
After you have uploaded the public key, click “Next” at the bottom right.
Managing certificates
If you chose the wrong option, do not panic. There UI has a place to manage the existing certificates, and you can upload new certificates or delete existing ones. It is important to also note that these certificates have an expiration date. You need to generate new certificates before this date, reconfigure your application to use them and upload the public key into the project.
Select product profiles
The last step is to choose the product profiles. As I explained in my introductory post on Adobe IO, what we are doing with this process is creating a set of credentials to connect to an API. The Adobe authorisation mechanism uses product profiles to select what permissions a user is granted. The process applies to both regular and API users:
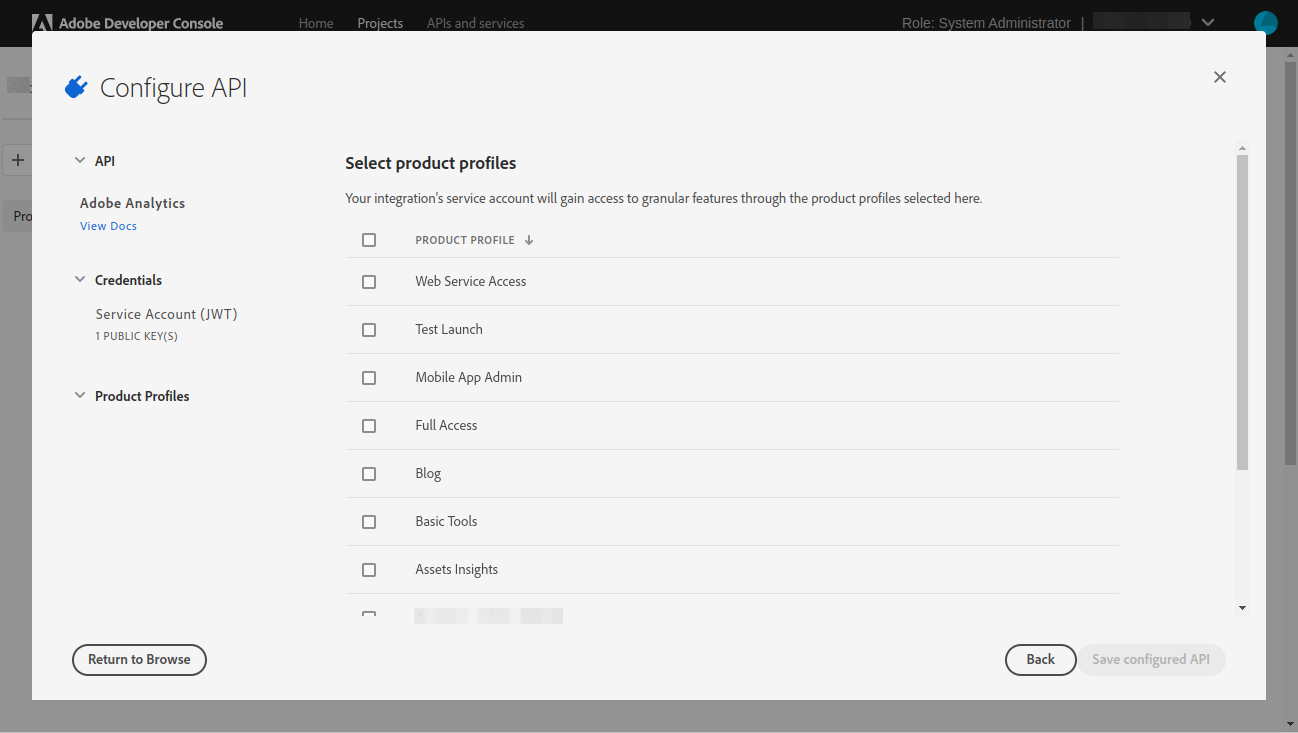
Click “Save configured API” at the bottom right.
API summary
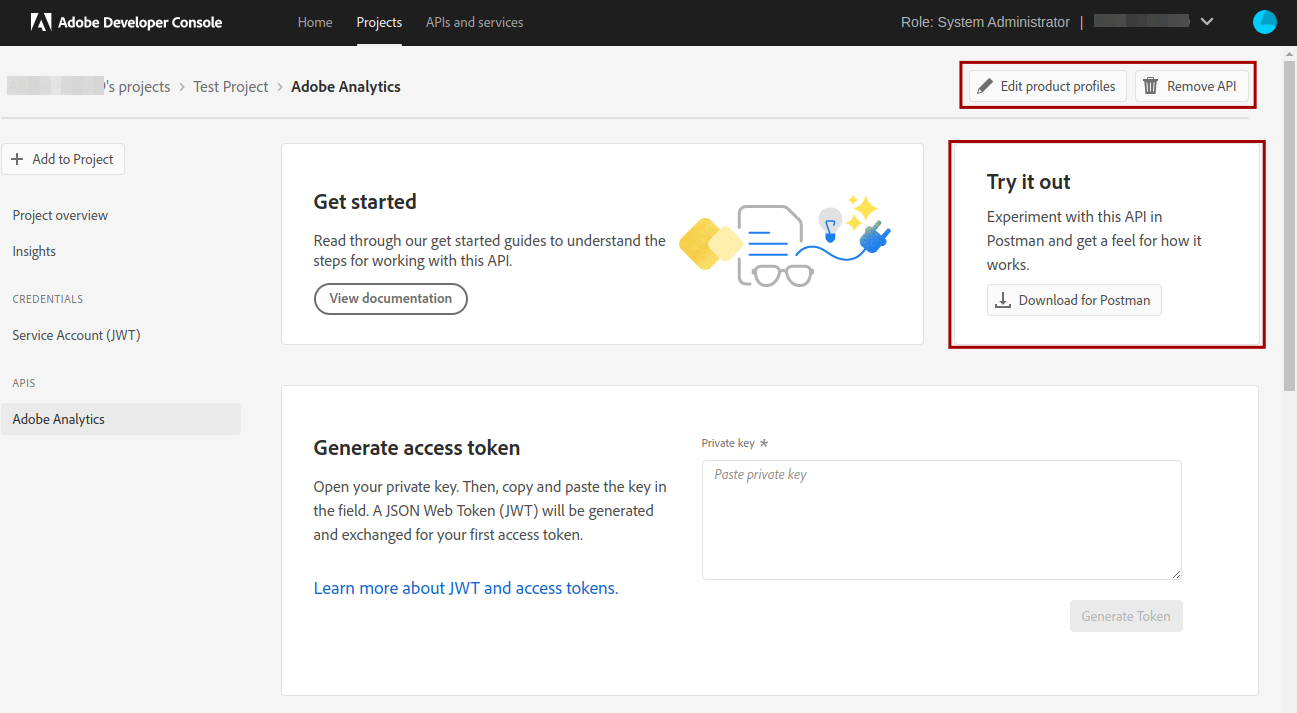
The next screen shows the configuration for the API you have selected. The first thing that you should notice is that you have an option to edit the product profiles and remove the API. You can also get a Postman collection to test the API in this tool. I highly recommend it, unless you are like me and prefer curl.
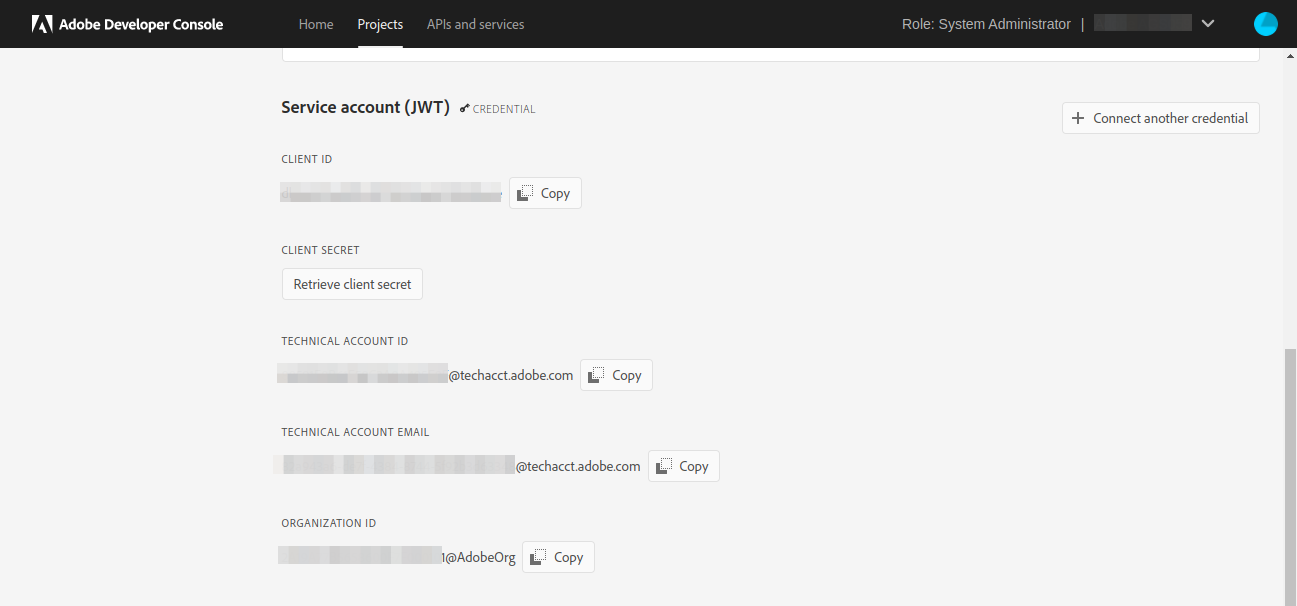
Now scroll down, until you see all the details of the Service account (JWT):
- Client ID. This is like the user ID, a unique identifier. In some documentation pages, it is referred to as API KEY.
- Client secret. Consider this as a password. This is why it is not shown by default and you need to click on “Retrieve client secret” to get it.
- Technical account ID. To be honest, I do not know what this parameter is and the difference with the client ID.
- Technical account email. This is an automatically generated email address. However, I have never used it.
- Organization ID. This parameter identifies your license and I am sure you have seen it in other places. Also known as IMS ORG.
I am not an expert in JWT, so I do not know why so many parameters are needed. In particular, having a password and a public/private key seems to be redundant to me. I guess it just adds more security.
Project summary
If you go up by one level in the breadcrumbs or go back to “Projects” from the top menu and click on the newly created project, you get a summary of it:
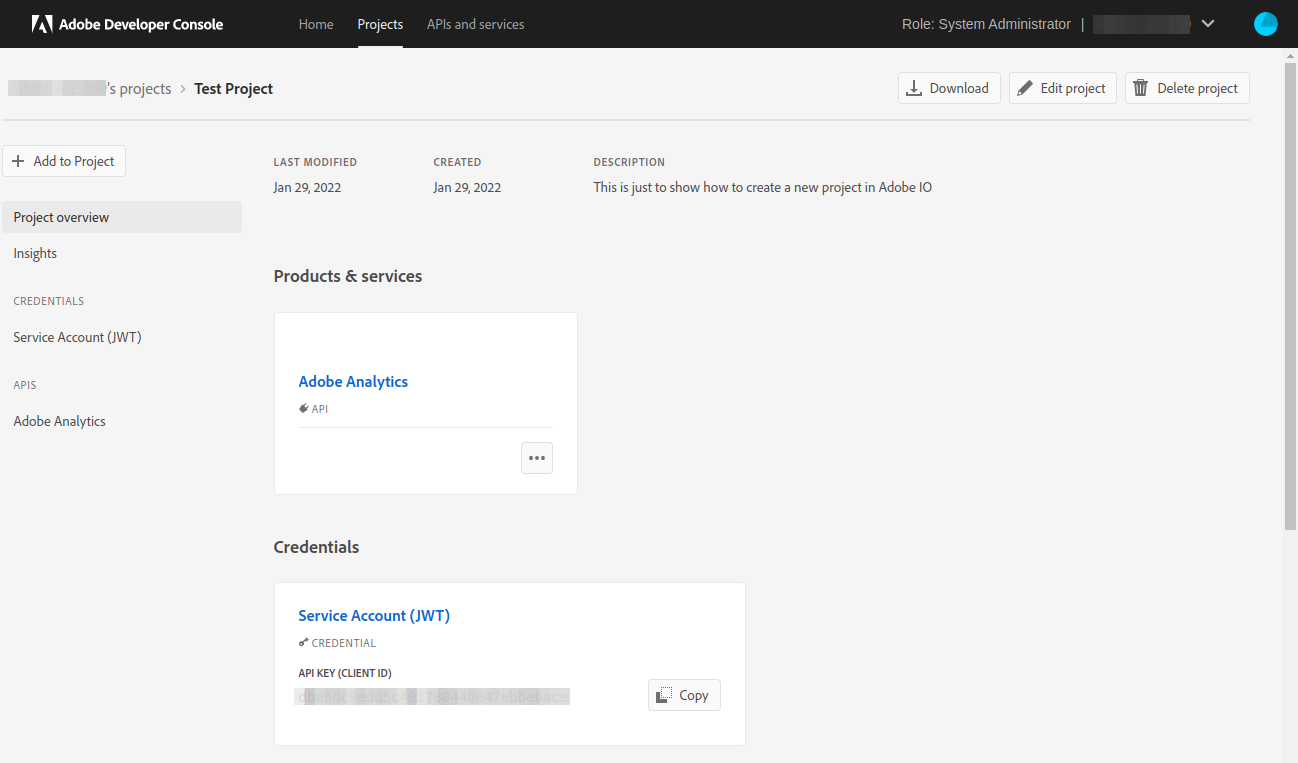
From here, you can modify the configuration parameters you have chosen or delete the project altogether.
In the next post, I will show you how to authenticate and get a Bearer token to connect to an API.