Processing Rules
23 Apr 2017 » Analytics Tips
Processing rules are basic if-then-else statements to perform minor manipulations of the data. They were added mainly to map context data variables into Analytics variables. However, you can also use them in simple cases instead of a VISTA rule. With processing rules, you can concatenate, copy or set values in Analytics variables. They must not be confused with Marketing Channels processing rules, which are specific for Marketing Channels.
Become authorised
The first step to have write access to the processing rules is to become authorised. The reason for this authorisation is because, with processing rules, you will be manipulating the data and there is no “CTRL-Z”. In other words, if you make a mistake in a rule and let it run for a few days before you notice it, there is no way to recover the original data.
Accessing the processing rules interface
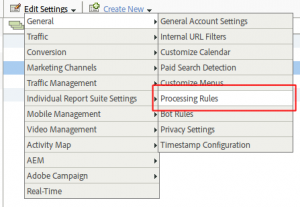 The interface is in the admin console for report suites: Admin (top menu) > Report suites. Then, select a report suite and click on “Edit settings” > “General” > “Processing rules”.
It might be possible that you already have some processing rules in the interface. The reason is that some data connectors and the mobile marketing UI can also generate processing rules. You will notice that these rules are read-only and you cannot change them.
Structure of a processing rule
Once you click on the “Add rule” link at the bottom, you get the following structure:
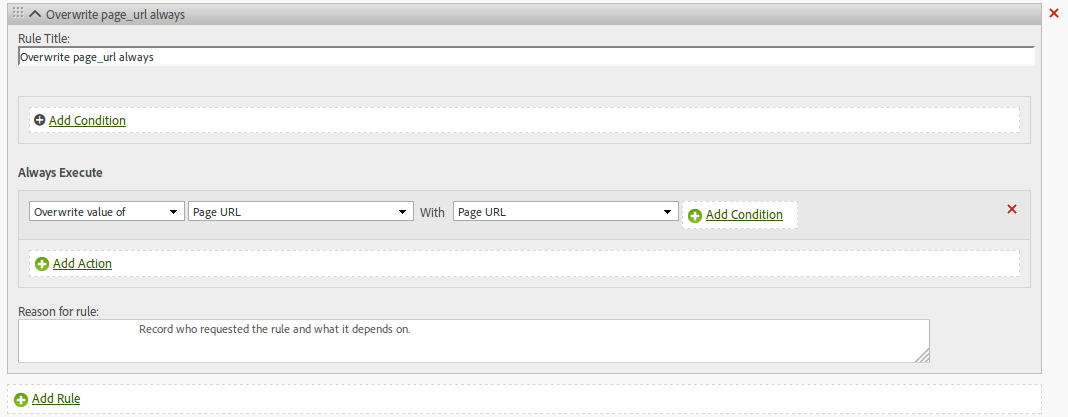
As you can see, there are four main sections:
- The title
- The conditions
- The actions
- The description or reason
It goes without saying that you must always use a good title and explain the reasons for the rule.
Adobe Analytics executes processing rules in the same order as in the UI. You can move rules around to fit your needs.
Conditions
In general, you will want to add a condition, so that the rule is only executed under certain circumstances. Clicking on “Add Condition”, expands the section with the options you have. Basically, a condition will check whether a value which came in the image request matches a certain pattern. You can use any of the following types of image request values:
- Hit attributes
- Conversion variables
- Traffic variables
- Context variable
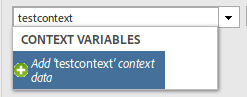 For conversion and traffic variables, you can only select those that have been enabled. In the case of context variables, you will only see those, which Analytics has seen. If you have not sent that context variable yet, you just need to type the full variable name in the drop-down box and click on “Add ‘…’ context data”. You then select the type of evaluation you want (equals, contains, is set…) and the values against you want to be evaluated.
Finally, if you need more than one condition, you can select “If All of the following are true” or “If Any of the following are true”, which corresponds to an AND and an OR of all the conditions.
Actions
There are three types of action you can perform:
- Overwrite the value of. This is the most common case, where you set an Analytics variable based on other data. It uses the word “overwrite” to make it clear that, if that Analytics variable already had a value, the rule will overwrite it (and, therefore, lose the original value).
- Delete value of. Not very common, but if you need to delete a value, you can do it with this option. This can be handy if a previous rule set a value, but a new condition requires this value to be ignored.
- Set event. As its name implies, this sets the value of an event. It is important to note that this is equivalent to explicitly setting a value in the events string: “eventX=1”. As a consequence, it is not possible to use this option to set product-specific events.
You will also notice that there is another “Add condition” link next to each action. This can be useful if you have a number of actions and each one requires a slightly different condition. Instead of creating one rule for each action, you can group them in a single rule, use a common condition for all of them and set action-level conditions where needed.
At the bottom of the actions section, there is a sub-section starting with “Otherwise do the following”. This is the “else” part of the if-statement, which will be executed if the rule conditions are not met. I have never needed to use this sub-section, but I am sure it can be useful in some cases.
Example: UTM parameters
I believe that using examples is usually the best way to show something. I had a customer, who was using the typical UTM parameters and wanted to concatenate them in the tracking code (campaign) variable. This is what I did for them:
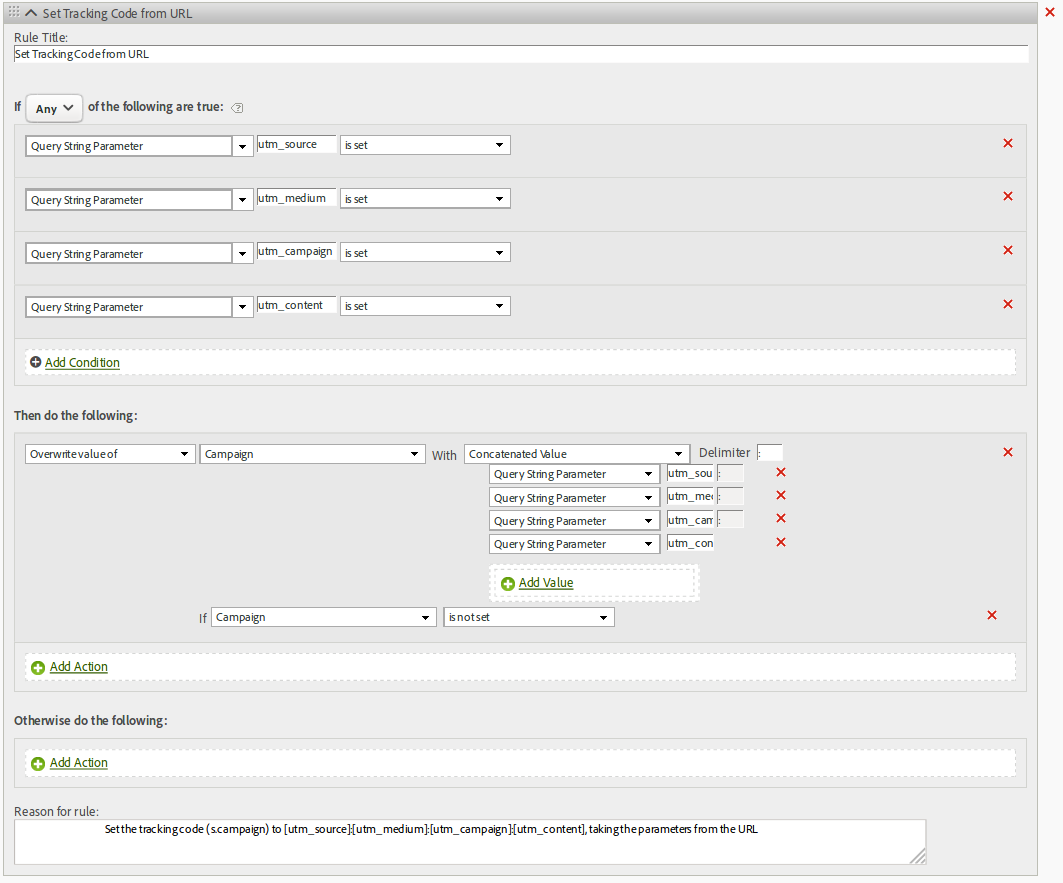
(Click for a larger image)
As a last point, here you have the official help section of processing rules.