
Conditional Adobe Target Rendering
01 Mar 2026 » MSA
When using Adobe Target, in the most general case, you always want to show the new experience: the page loads with the default content, Web SDK requests alternate content from Adobe Target, and this new content replaces the default content. This is how most of our customers use Adobe Target. However, there are legitimate reasons for not always wanting to show the response from Adobe Target. I will not explain here the use cases when this behavior makes sense, but rather how you need to set up Web SDK so that you can control the rendering.
Proposition Impressions
You may think that the easy solution is just to prevent the Web SDK code, which renders the content in Adobe Target’s response, from running. However, it is not that easy, as I will explain below. Before I continue, I want to clarify that this response is usually called a proposition. The documentation uses this word, and so will I throughout this post.
Adobe Target has no way of knowing what has happened in the browser. It therefore considers the returned experience rendered and increases the impression counter for that experience. This counter, in turn, is used to calculate lift and confidence, the two main metrics of Adobe Target. In other words, if we do nothing, in cases where a proposition is not shown and the impression counter is increased, the reports will be incorrect.
Fortunately, there is a solution. Adobe Target can be told not to increment the impression counter automatically. Instead, a different process needs to be followed:
- Request the proposition from Adobe Target, without incrementing the counter.
- Decide whether to render the proposition.
- If the proposition is rendered, send a view event back to Adobe Target.
Web SDK
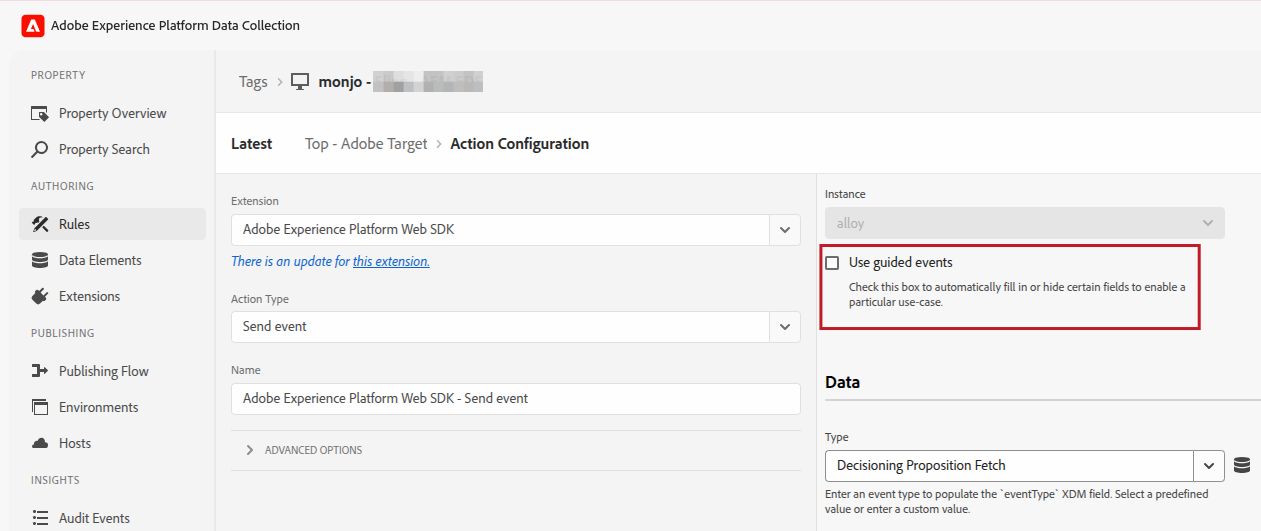
If you are using Adobe Launch Tags, you have to configure the Adobe Target send event action at the top of the page with these checkboxes.
- Disable “guided events”. By default, Web SDK will try to make your life simpler by only allowing you to configure the typical options. We want to go our own way.
- Disable “render visual personalization decisions”. You can only change this checkbox after disabling guided events.
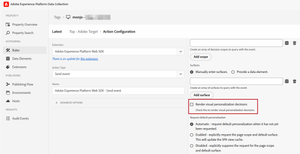
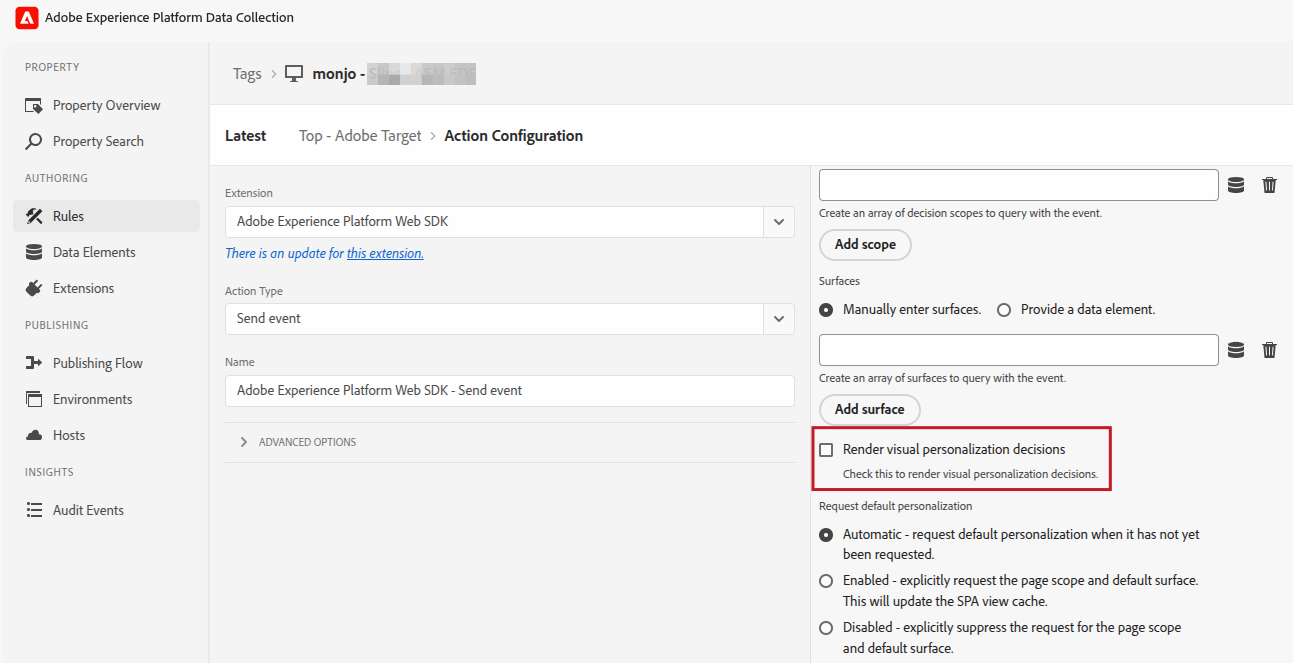
With these two parameters, you will get the propositions, but nothing else will happen: Adobe Target will not increase the counters, and Web SDK will not show the proposition. Now you have to decide whether you should render the propositions and, if so, render them and notify Adobe Target.
It is beyond the scope of this post to go into the details of how to decide and render the propositions. This will entirely depend on the business requirements for the decision and the structure of your website’s HTML. What I can do is guide you on how to implement it.
The Platform Web SDK tag extension provides a “Send Event Complete” event, which can be used to trigger a new rule when a response from a Send Event action is received. I can think of two options for how to use it:
- If the decision to render can easily be constructed in a rule condition and the rendering is simple:
- Add the condition to the rule
- Add an action of type “Apply propositions” and configure it to render the proposition.
- If the decision and rendering require custom code, add a “Custom code” action, where you will add the necessary code to evaluate the decision to show the proposition and handle its rendering. In your code, you will want to use
event.propositionsto get the response from Adobe Target.

Refer to this help page for more information.
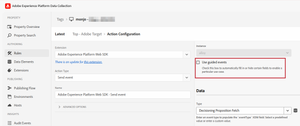
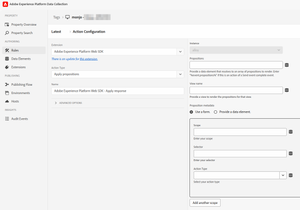
Finally, it is time to report back to Adobe Target whether the proposition has been rendered, which includes activities with Analytics for Target (A4T). This can easily be done using a normal send event action in Web SDK. Since this event is only for sending data, you can try to use the “collect” method:
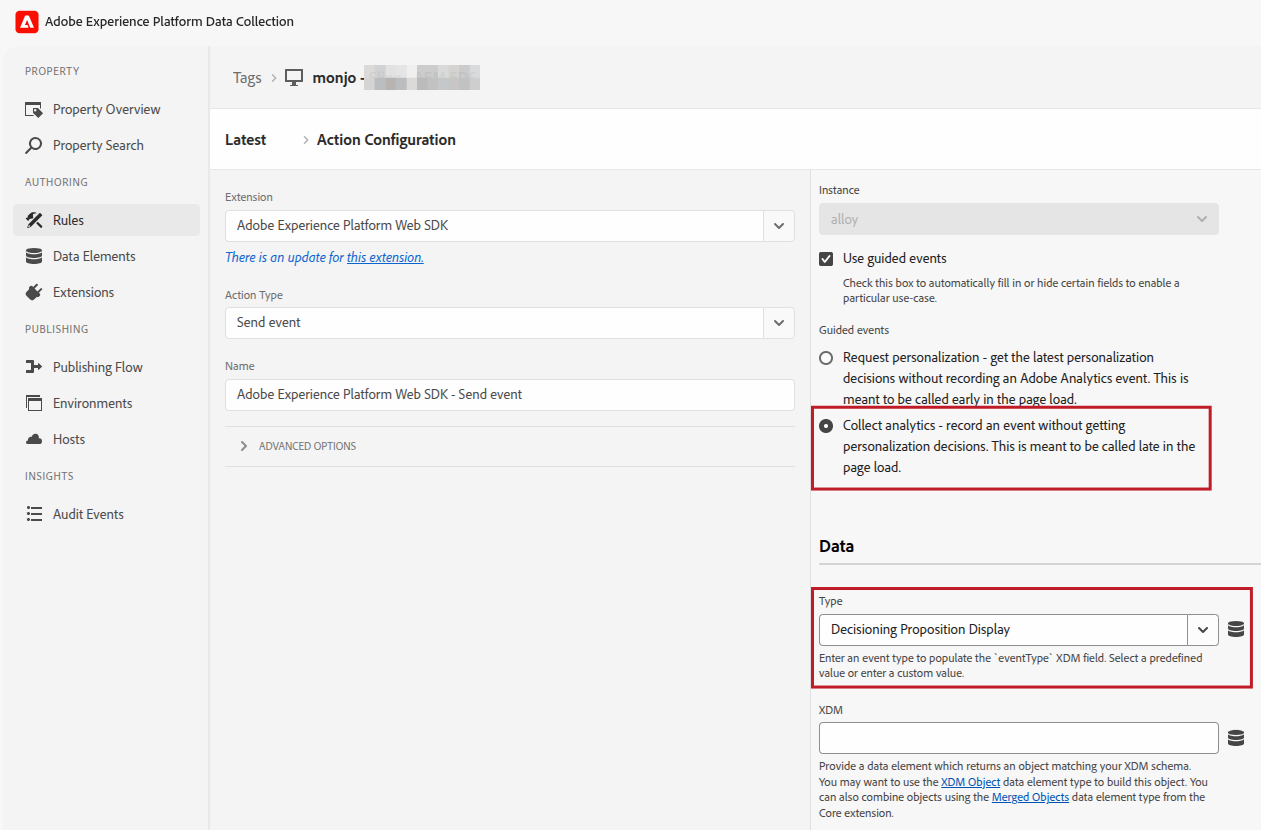
In the previous screenshot, the XDM data is missing. It must contain the proposition information (the Adobe Target experience details) following this structure:
"_experience": {
  "decisioning": {
      "propositions": [{
        "id": <PROPOSITION_ID>,
        "scope": <PROPOSITION_SCOPE>,
        "scopeDetails": <PROPOSITION_SCOPE_DETAILS>
      }]
  }
}
The values for propositions[].id, propositions[].scope, and propositions[].scopeDetails are just a copy of the values that came from the Adobe Target response. You will have noticed that propositions is an array, in case you have multiple propositions to report on in a single call. Again, refer to this help page for your reference.
Alloy.js
If you are not using Adobe Tags and Web SDK, you will have to do everything above manually, in code. The documentation in Experience League explains it fairly well; you just need to find it, as it is a bit scattered. While I cannot provide boilerplate code, I can provide some guidance. Before I continue, I have to warn you that this code is completely untested.
To get the propositions and prevent Web SDK from rendering them, you will set renderDecisions to false and customize decisionScopes to your needs:
alloy("sendEvent", {
  personalization: {
    decisionScopes: ["__view__"],
    sendDisplayEvent: false,
    defaultPersonalizationEnabled: true
  },
  renderDecisions: false,
  xdm: { /* Your XDM */ }
});
Again, the decisioning and rendering are out of scope for this post.
The last step is to send the display event back to Adobe Target:
alloy("sendEvent", {
  xdm: {
    eventType: "decisioning.propositionDisplay",
    _experience: {
      decisioning: [{
        "id": <PROPOSITION_ID>,
        "scope": <PROPOSITION_SCOPE>,
        "scopeDetails": <PROPOSITION_SCOPE_DETAILS>
      }],
      propositionEventType: {
        display: 1
      }
    }
  }
});
I have used these references:
renderDecisions- Process the response from Target
- Manually render propositions
- Manage display events in the Web SDK
at.js
What??? You are still using at.js? You should really consider migrating to Web SDK. Well, I should not be judgmental.
I will not explain how you should do it, as my knowledge of at.js is very rusty by now. What I will share is the following:
- The process is the same as above: retrieve, and conditionally render and notify.
- Use the Adobe Target Delivery API for both retrieval and notification.
- For experience retrieval, you use
prefetch. - For display notification, you use
notifications.
Photo by Austin Chan on Unsplash