
User Management in the Adobe Admin Console
04 Feb 2018 » Admin Console
The main functionality of the Adobe Admin Console is user management. If you have been using Adobe products for a while, you will remember when you had to create users in each tool. This is all changing and Adobe is moving to a centralised approach, where all user management is done in one single interface. Let’s see how.
As I explained in my previous post, in the Admin Console, you usually start with the “Users” section.
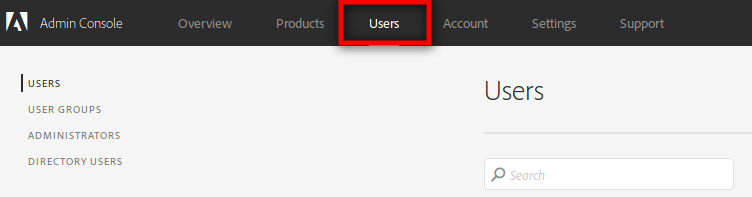
Unsurprisingly, the landing page will show you a summary of the users, and the products they have access to.
Type of user accounts
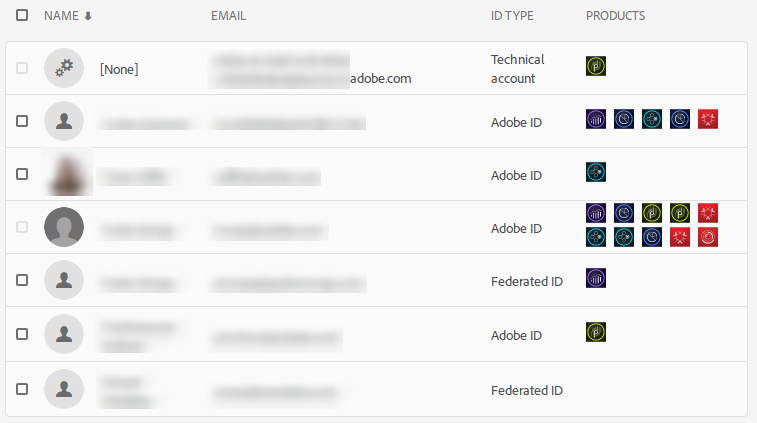
From the previous screenshot, you may wonder what the ID type is:
- Technical account. These are Adobe-internal accounts, needed to connect different products. They are created in Adobe IO. In the example above, it is a test AEM-ACS integration.
- Adobe ID. This is the default type of account. Basically, the user needs to create an account at adobe.com and the administrator will then grant him access to the Adobe tools. In other words, this account is managed by Adobe and anybody can create an account of this type.
- Enterprise ID. Organisations usually want to increase the control of the users’ accounts. With Enterprise ID, only system administrators can create these type of accounts and the organisation owns these accounts; Adobe only hosts them.
- Federated ID. This is the last type, where the organisation takes full ownership and control of the accounts. In this case, you need to integrate the Adobe Experience Cloud with your SAML2 SSO system. The final result is that users authenticate against their company’s SSO system and not against an account hosted at Adobe.
For the last two types, I will devote a post, where I will explain how to integrate with an external SSO solution.
Adding a user
Probably, the most typical activity in user management is adding new users. It goes without saying that you need to click on the blue “Add User” button to start the process, after which, you will see:
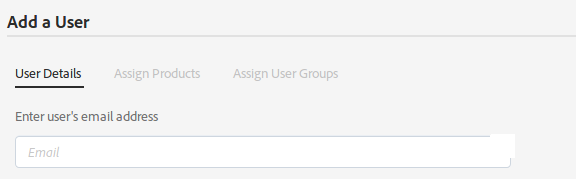
The first field to populate is the email address. It must be noted that, with a “Federated ID” user, this field might look like an email address, but, in some cases, it may actually be a user name. Once you have populated this field, Adobe evaluates which type of users you can choose for this new account. You can always choose “Adobe ID”, but, if the domain of the email address has been claimed by your organisation, you will also get to choose “Enterprise ID” or “Federated ID”.
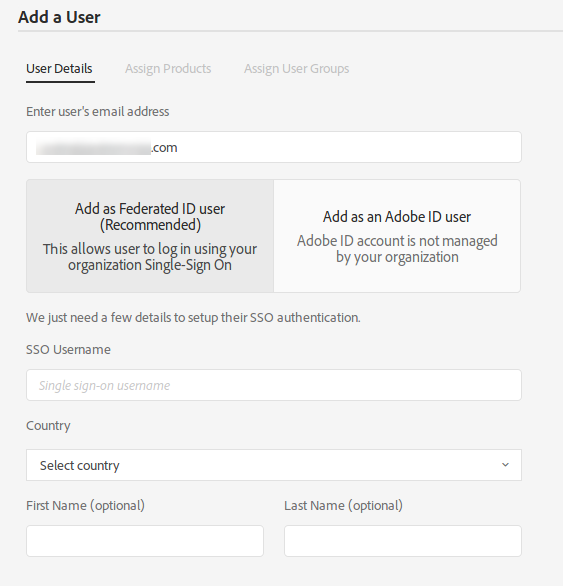
In the case of a Federated ID, you need to populate additional fields. It is very important that the values for these fields are exactly those in your SSO solution, including capitalisation. Otherwise, the authentication will not work.
Once you have populated these fields, you can click on “Save”. In the case of an Adobe ID, the user will receive an email stating that he has been added to that Adobe Experience Cloud. However, in the case of Enterprise ID and Federated ID, no emails are generated.
Before clicking on “Save”, though, you may want to assign product profile and/or user groups to that user. If you do not do it now, you can always do it later. Let me explain you what these two features are.
Product profiles
When granting a user access to a tool, you do not necessarily want to give full access to the tool. Each tool has its own set of user permissions. I am not going to go through all products in the whole Adobe Experience Cloud, explaining what type of profiles you can create in each case. I am also deliberately not putting screenshots here, as each tool is different and one example could create confusion. However, the message I want to convey here is that it is possible to create different product profiles, with different permissions.
You will have guessed correctly that the place to manage the product profiles is under the “Products” top menu. This is what you can do with product profiles:
- Associate them with a specific product user group. Each group will offer a different set of features.
- Add users directly from within the product profile interface.
- Assign admins. In other words, you can promote individual users to product profile admins, so they can manage that particular product profile, including the users. This can be very useful in large organisations, to delegate the power of assigning users.
User groups
The user group feature is the next level above product profiles. In some cases, it is common to have a large group of users who need exactly the same permissions across various products. So, with user groups, you can group different product profiles under a single entity. All users added to a user group will also have the product profiles of the group.
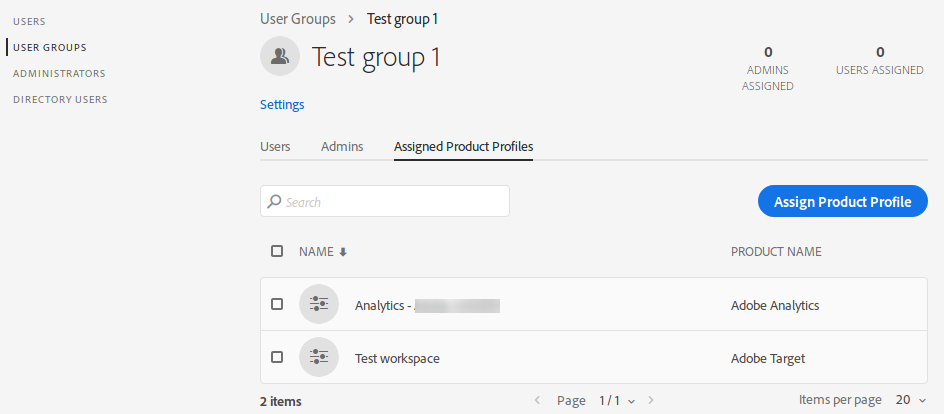
So, in the previous screenshot, the user group “Test group 1” has 2 product profiles: standard access to Adobe Analytics and a test workspace from Adobe Target.
As with product profiles, you can also set user group administrators.
Types of administrators
With so many administrator types, it is not uncommon to get a bit lost. To avoid confusion, let me summarise the 5 types of administrator roles in the Adobe Admin Console:
- System administrator. This is the super administrator, the person who can do everything. As usual, with great power comes great responsibility, as this role has the power of wreaking havoc. Very few people should have this role, preferably a dedicated person with a backup.
- Product administrator. I have not explained it earlier, but you can probably guess this role. This is an administrator who has full control of an individual product.
- Product profile administrator. See above for the explanation.
- User group administrator. Again, see above.
- Support administrator. I have not used this role yet, so I do not know all the details but, as its name implies, this is used to submit tickets to client care. For now, it only supports Adobe Analytics, Adobe Target and Adobe Audience Manager.
Edit and removing users
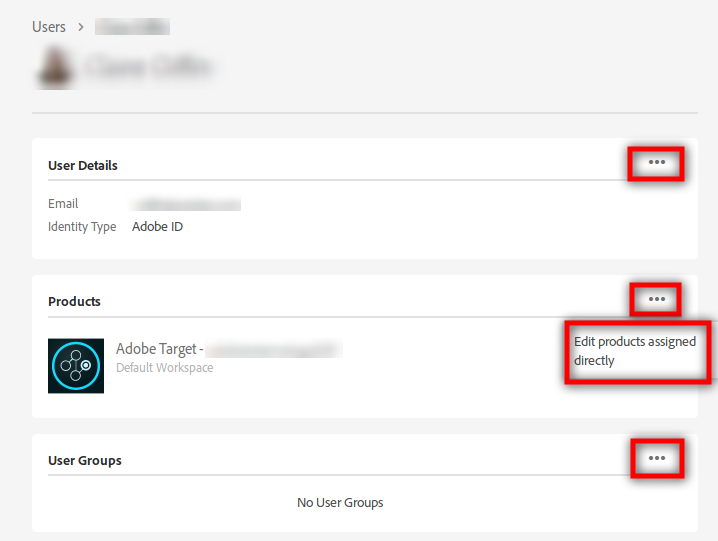
Changing a user’s permission may seem a bit non-intuitive at the beginning, but once you know the process, it is very easy. It all starts by selecting a user. You have two options in the “Users” section:
- Click on the name. This will take you to a full page with the user’s summary.
- Click on the email address. In this case, you only get a summary on the right hand side of the page.
In both cases, click on the the dots next to the section you want to edit and confirm your action:
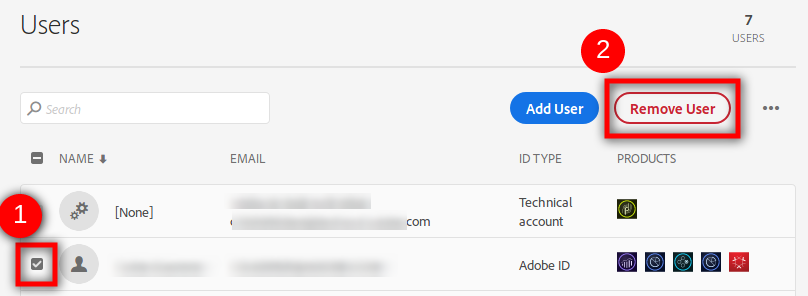
Removing a user is dead simple. Just click on the square on the left of the user and click on “Remove user”:
People and processes
So far, I have only given an overview of how to manage users, the technical part of it. However, this is only part of the picture. An organisation needs to set up some processes to grant user access to the Adobe tools, which ends up being the most complicated part. From what I have seen in the past, it is difficult to find someone in an organisation who is ready to take any of the administration roles.
If you are managing or implementing the Adobe Experience Cloud, here are some tips of what I suggest you do:
- Identify a system administrator. This is probably the most complicated task. One person should take the role, with one or two backups.
- Do not create all administrator roles explained in this post at the same time. Only use those that make sense in your organisation. In general, you should start with only product administrators. As the number of users grows and you see that product administrators are not enough, create product profiles and user groups and assign corresponding administrators.
- Give the minimum permissions to users. When we start an implementation, we tend to grant everybody administrative roles or access to all tools. This is not a good practice and users should only get access to the tools they need, with the minimum role that allows them to work.
- Create workflows to add new users, edit permissions and delete users. These workflows will span different department in your organisations. Let me stress the importance of deleting users; failing to do so may lead to a data breach, which can end up in important fines.
- Perform regular audits. Using the API or the bulk tools, review everybody in the system.
- Pay special attention to Adobe Campaign. Remember that this is where the most sensitive data is stored. Users accessing this tool can ruin a company.
Please, if you have a different approach, leave a comment with how you manage users!